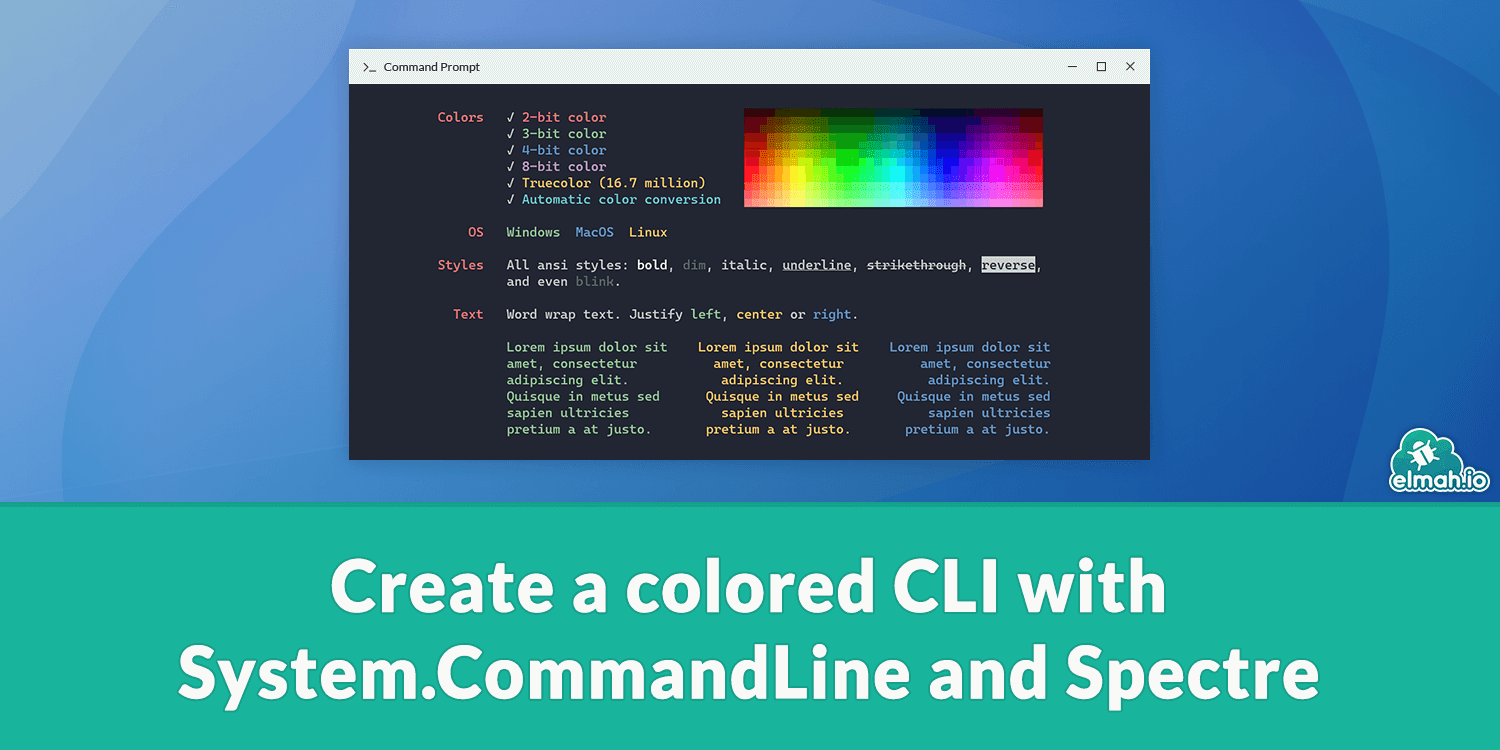
Create a colored CLI with System.CommandLine and Spectre 🎨
No matter how fancy desktop, web, and mobile applications get, we will always need command-line interfaces (CLI). We already blogged about how you can build a CLI here: Building a command-line tool with progress bar in .NET Core. Since writing that post we have introduced the elmah.io CLI where we use a different range of NuGet packages that I want to introduce you to in this post.
Packages that help users develop CLIs in C# have been available for years. I have used most of them like CommandlineUtils, GoCommando, and CommandLineParser. All great options for sure. When developing the dotnet.exe command, Microsoft decided to build a new command line parser, rather than using the previous CommandlineUtils. I'm not sure why, but the output is awesome. Say hello to System.CommandLine. System.CommandLine makes it easy to develop a CLI with multiple commands, accepting arguments, show help, etc.
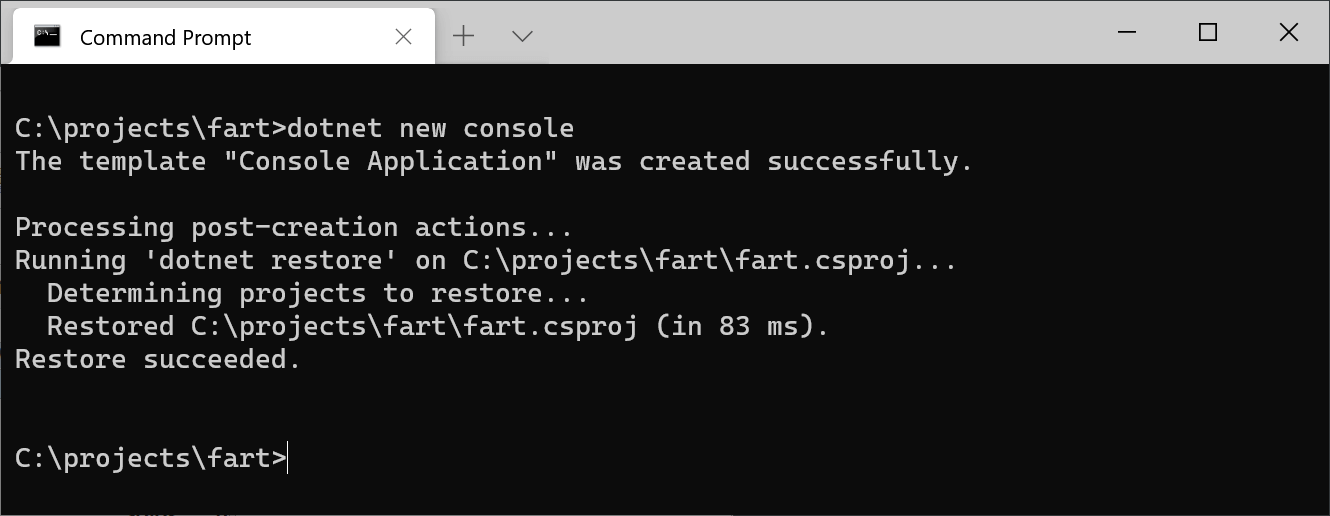
For this post, I will develop a new tool using System.CommandLine named FART - File Association and Rename Tool. I will include two commands to showcase how to include multiple commands known from the dotnet tool. I also want to add some nice visual stuff using the awesome Spectre.Console package. More about the visuals later in this post.
Let's start by creating a new .NET (Core or 5) Console Application:
Next, install the System.CommandLine NuGet package:
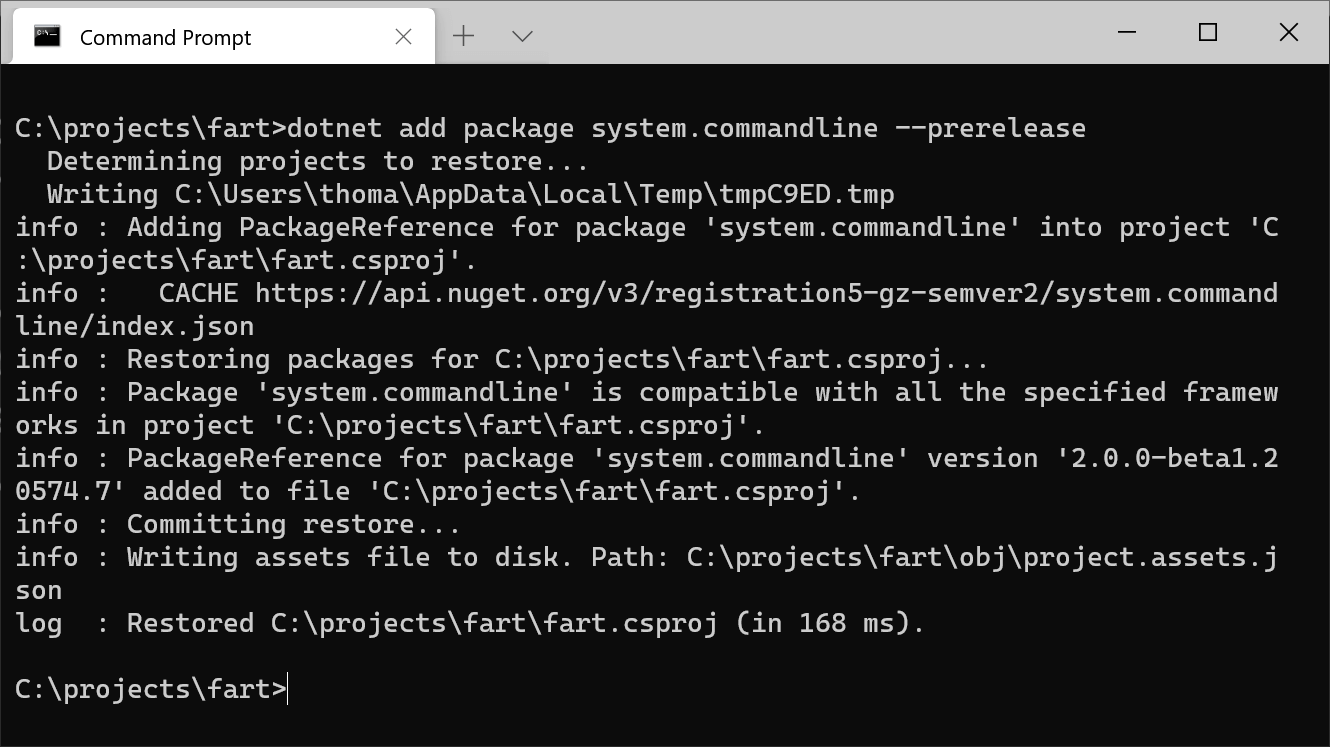
As shown with the --prerelease parameter, the System.CommandLine package is still in prerelease. Being the engine behind the dotnet command, we are probably still pretty safe.
System.CommandLine works with the help of one or more commands. To start we want to add a root command. You can add behavior directly to a root command but in this case, we only want to include the root command to add nested commands as well as to show help:
public class Program
{
    public static async Task<int> Main(string[] args)
    {
        var rootCommand = new RootCommand();
        rootCommand.Name = "FART";
        rootCommand.Description = "File Association and Rename Tool";
        return await rootCommand.InvokeAsync(args);
    }
}
In the code, I simply add a new RootCommand, give it a name and description, and execute it using the args provided from the command line using the InvokeAsync method. That's it for our very first and simple command. Run it using --help to see the usage automatically generated by System.CommandLine:
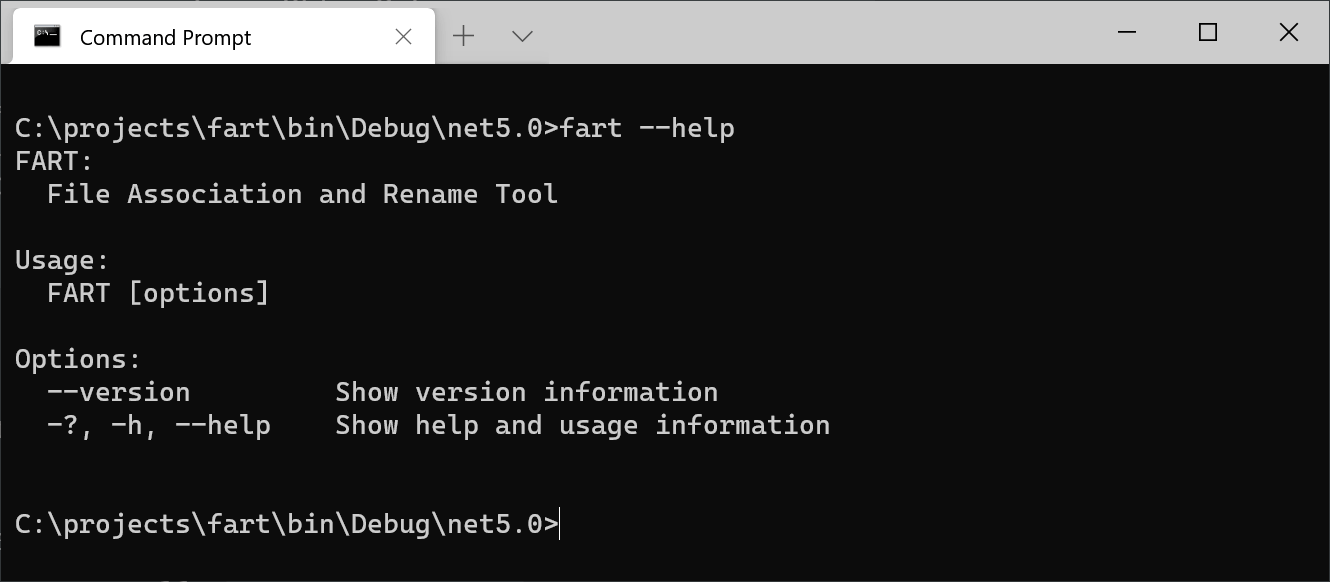
As seen in the usage, we still don't accept any commands and/or arguments. Let's add the first command called rename:
var renameCommand = new Command("rename")
{
    new Option<string>("--input", description: "The input file name")
    {
        IsRequired = true
    },
    new Option<string>("--output", description: "The output file name")
    {
        IsRequired = true
    },
};
renameCommand.Description = "Rename a file";
renameCommand.Handler = CommandHandler.Create<string, string>((input, output) =>
{
    File.Move(input, output);
});

rootCommand.Add(renameCommand);
I start by creating the new command and handing it the rename command through the constructor. The command also accepts one or more options, specified using the Option class. Using generics, you specify the accepted input on each option. In this example, we accept two strings --input and --output. We also specify that both options are required.
Next, the command is given a description that is shown on the help screen as well as a command handler to execute. System.CommandLine only executes the code inside the lambda once the user has successfully provided the options set up in the previous step. For the handler code, I simply rename input to output using the File.Move method.
Finally, I add the new renameCommand as a nested command on rootCommand that we created in a previous step. Let's run the tool and see what happens:

Check out the Commands section at the bottom that now includes our new rename command. Running the new command is easy:
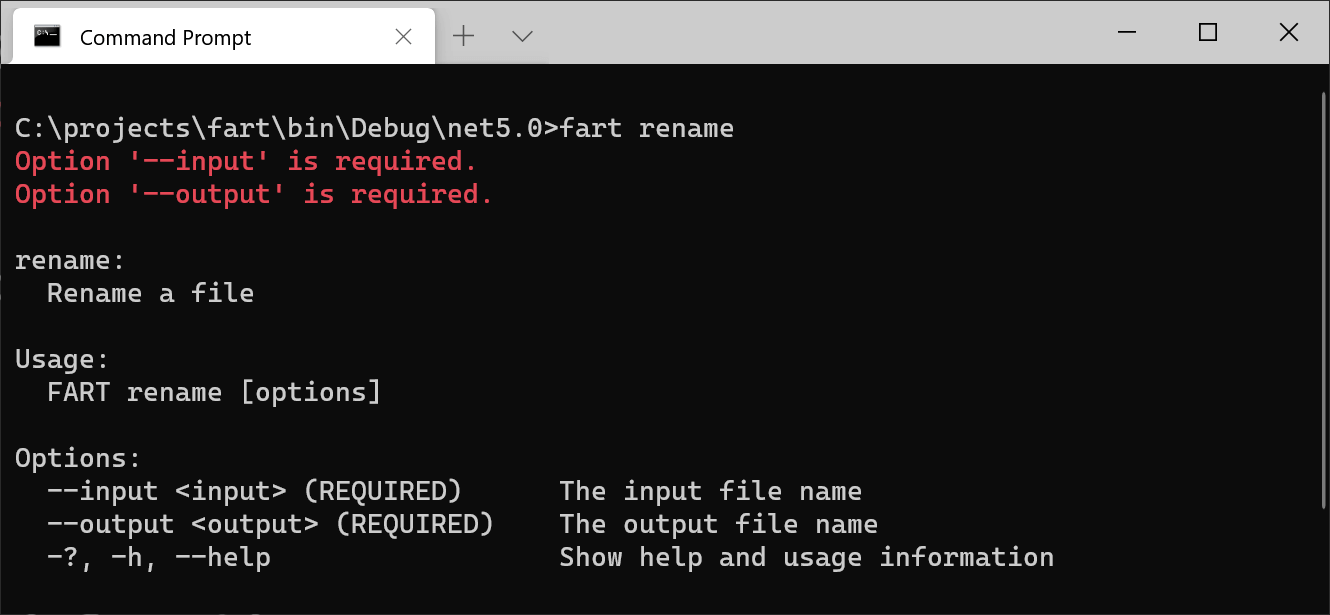
As we would expect, System.CommandLine complains about the missing required options --input and --output.
Adding a second command shouldn't be hard now:
var associateCommand = new Command("associate")
{
    new Option<string>("--extension", description: "The file extension to associate")
    {
        IsRequired = true
    },
    new Option<string>("--program", description: "The absolute path to a program")
    {
        IsRequired = true
    },
};
associateCommand.Description = "Associate a file extension to a program";
associateCommand.Handler = CommandHandler.Create<string, string>((extension, program) =>
{
    // TODO
});

rootCommand.Add(associateCommand);
This is the code to include the associate command. I have left the implementation out for now, since that isn't important for this post. Running the tool now shows two commands:
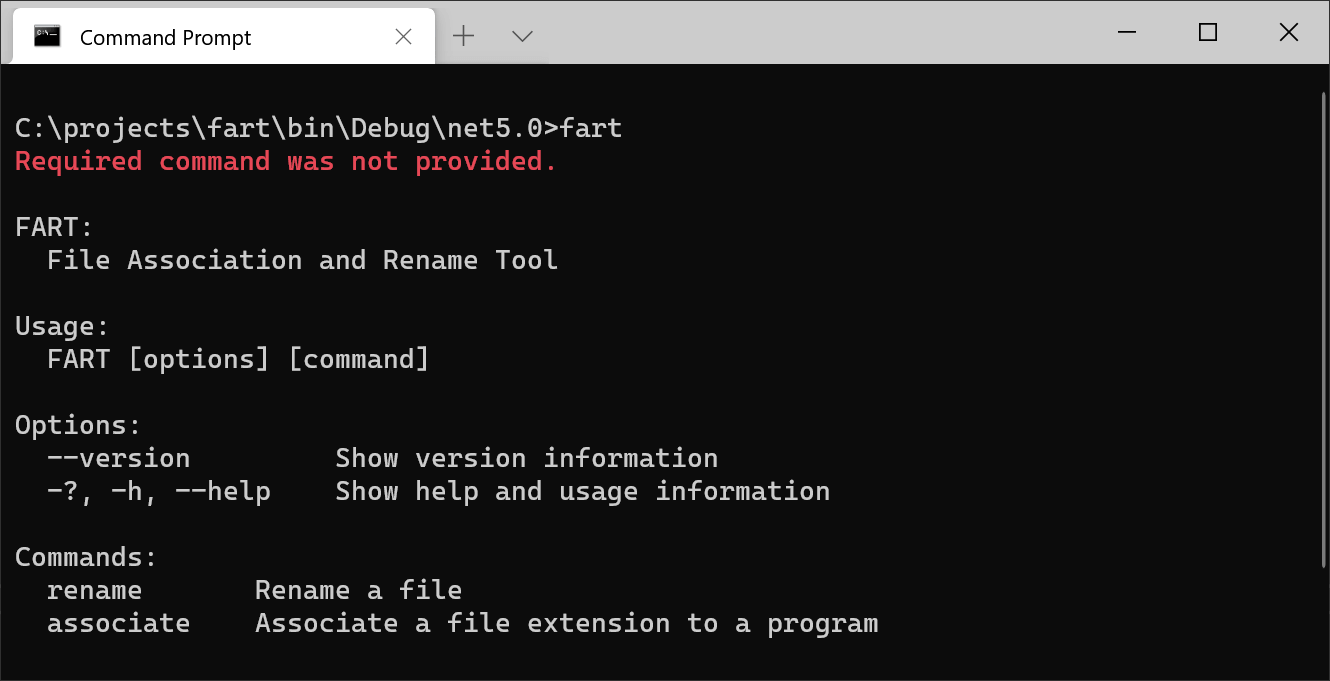
As you should have seen by now, adding commands, accepting options, parsing them, and including the code to run on each command is very easy.
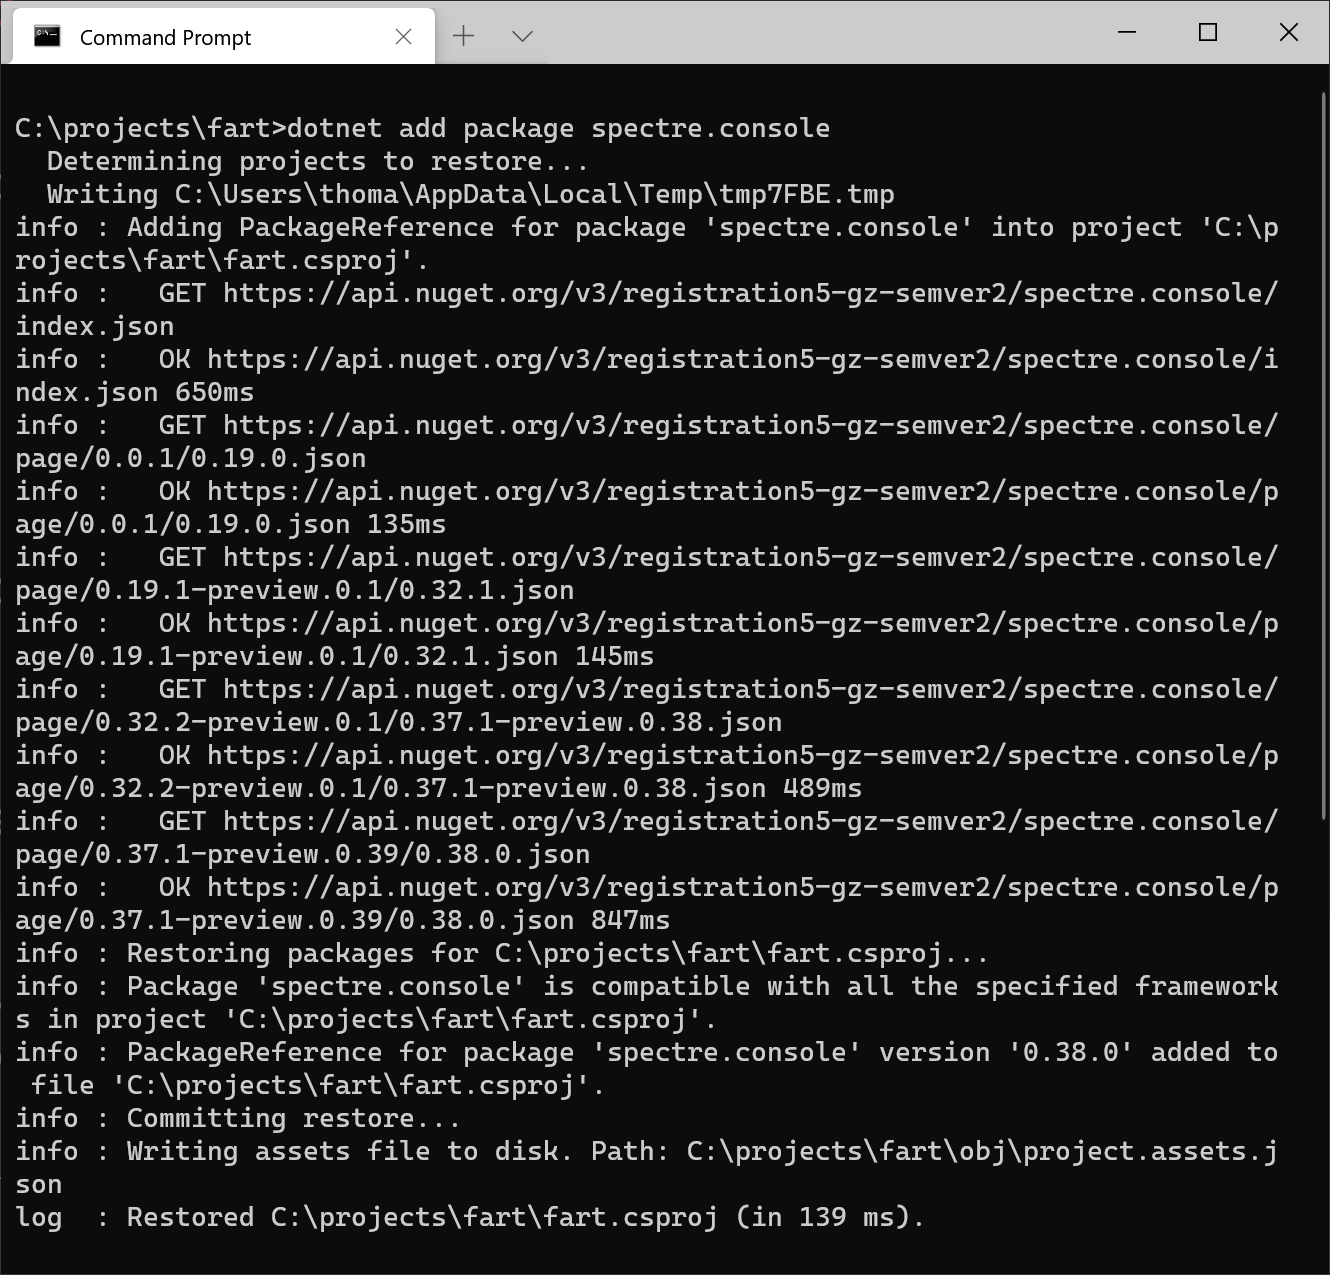
Let's include some colors using the Spectre.Console NuGet package:
Spectre.Console opens up a world of nice features on CLIs. You can output colored text, generate tables, graphs, calendar widgets, and much more. For this post, I'll showcase two features but check out Spectre.Console for a lot of good stuff.
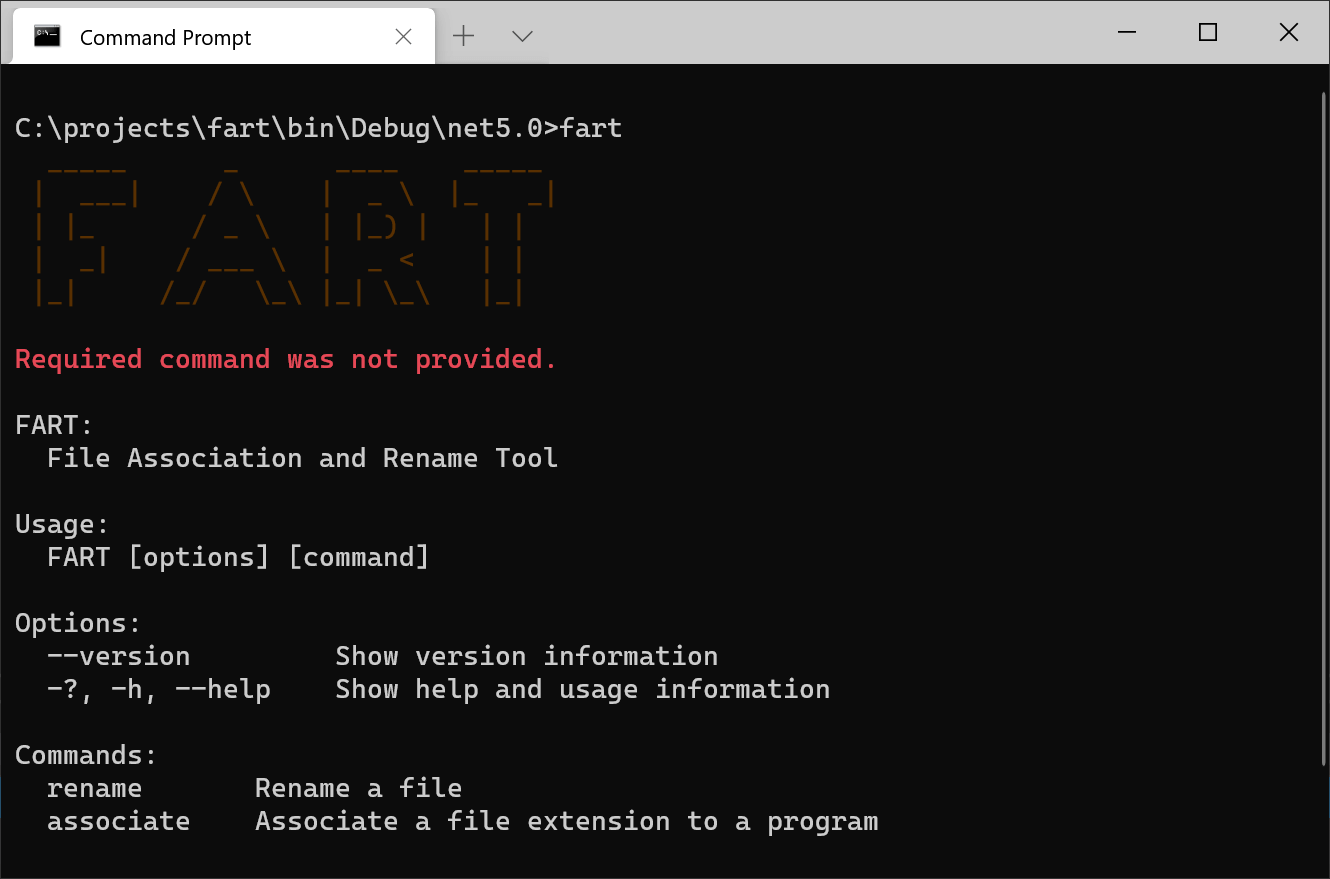
Ever seen those nice ASCII logos on top of CLIs like when executing tools like the Azure CLI? Spectre makes it easy to generate something similar to that using what's called Figlet text. Include the following code before calling the InvokeAsync method:
AnsiConsole.Render(
    new FigletText("FART")
    .Color(new Color(89, 48, 1)));
The code writes the text FART to the console and yes, I had to google the RGB color to get exactly right 😁
Nice right? Let's add a bit more implementation to the rename command and color a message depending on the outcome:
renameCommand.Handler = CommandHandler.Create<string, string>((input, output) =>
{
    try
    {
        File.Move(input, output);
        AnsiConsole.MarkupLine("[green]Success![/]");
    }
    catch
    {
        AnsiConsole.MarkupLine("[red]An error happened[/]");
    }
});
In case the Move method succeeded we output a green message using the AnsiConsole.MarkupLine method and a bit of magic markup within the string. In case of an exception, we output a red error message.
Doing control flow using exceptions like this is considered a bad practice but let's keep it simple for now. For more information, check out C# exception handling best practices.
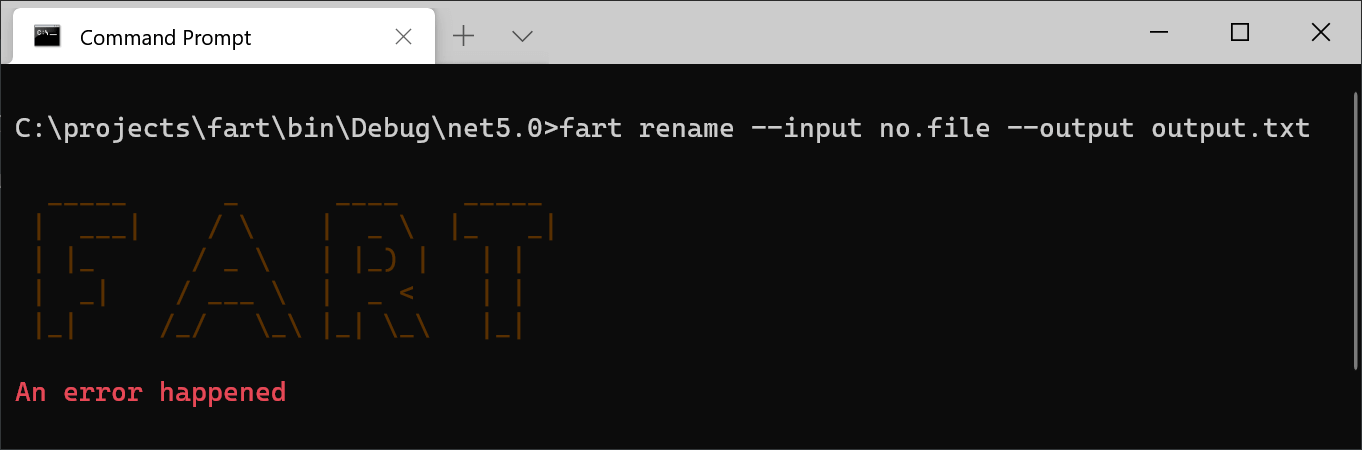
Here's an example of the newly colored error message when executing the rename command with a non-existing file:
Here's the full source code:
public class Program
{
    public static async Task<int> Main(string[] args)
    {
        var rootCommand = new RootCommand();
        rootCommand.Name = "FART";
        rootCommand.Description = "File Association and Rename Tool";

        var renameCommand = new Command("rename")
        {
            new Option<string>("--input", description: "The input file name")
            {
                IsRequired = true
            },
            new Option<string>("--output", description: "The output file name")
            {
                IsRequired = true
            },
        };
        renameCommand.Description = "Rename a file";
        renameCommand.Handler = CommandHandler.Create<string, string>((input, output) =>
        {
            try
            {
                File.Move(input, output);
                AnsiConsole.MarkupLine("[green]Success![/]");
            }
            catch
            {
                AnsiConsole.MarkupLine("[red]An error happened[/]");
            }
        });

        rootCommand.Add(renameCommand);

        var associateCommand = new Command("associate")
        {
            new Option<string>("--extension", description: "The file extension to associate")
            {
                IsRequired = true
            },
            new Option<string>("--program", description: "The absolute path to a program")
            {
                IsRequired = true
            },
        };
        associateCommand.Description = "Associate a file extension to a program";
        associateCommand.Handler = CommandHandler.Create<string, string>((extension, program) =>
        {
            // TODO
        });

        rootCommand.Add(associateCommand);

        AnsiConsole.Render(
            new FigletText("FART")
            .Color(new Color(89, 48, 1)));

        return await rootCommand.InvokeAsync(args);
    }
}
elmah.io: Error logging and Uptime Monitoring for your web apps
This blog post is brought to you by elmah.io. elmah.io is error logging, uptime monitoring, deployment tracking, and service heartbeats for your .NET and JavaScript applications. Stop relying on your users to notify you when something is wrong or dig through hundreds of megabytes of log files spread across servers. With elmah.io, we store all of your log messages, notify you through popular channels like email, Slack, and Microsoft Teams, and help you fix errors fast.

See how we can help you monitor your website for crashes Monitor your website