
Deploying a MkDocs documentation site with GitHub Actions
In the previous post in this series about building documentation sites with MkDocs, I showed you how to host a site on GitHub Pages. We briefly touched upon GitHub Actions, the integrated build and deployment server available on GitHub. In this post, I'll continue the example and get a real deployment pipeline set up.
GitHub Actions is yet another free option from GitHub, which is basically a build server in the cloud. I have blogged about Actions in the past and how it compares to other build servers. If you are interested in more details, check out Building and testing on multiple .NET versions with GitHub Actions.
In the previous post, we saw how GitHub Actions is responsible for picking up any commits on the gh-pages branch and deploying them on Pages. On a production site, you typically want to develop directly on the main branch and have a build server automatically pick up changes in Markdown source files and build the static website directly on the build server.
To have GitHub Actions pick up changes to your documentation site and build and deploy them on GitHub Pages, start by going to your repository on GitHub. Navigate to the Actions tab and click New workflow. There's no pre-made template for MkDocs, so go ahead and click set up a workflow yourself to start from blank. This will generate a new file named main.yml in the .github/workflows folder. I'll paste the end file in the following sample and go through each command line-by-line. Include the following code:
name: build
on:
  push:
    branches:
      - main
jobs:
  deploy:
    runs-on: ubuntu-latest
    steps:
      - uses: actions/checkout@v2
      - uses: actions/setup-python@v2
        with:
          python-version: 3.x
      - run: pip install mkdocs
      - run: mkdocs gh-deploy --force --clean --verbose
This is basically all you need to have your documentation site automatically deployed. In the first line, we name the workflow "build". You can put any name in there. In the on part, we tell GitHub Actions to run this workflow every time someone pushes commits on the main branch. Remember that the gh-pages branch will be generated by MkDocs and we never want to either check out this branch locally or modify it manually.
In the jobs section we tell Actions to run the workflow on the latest version of Ubuntu. The workflow consists of a list of steps. The first step checks out the latest code. In the second step, we install the latest version of Python 3. The image ubuntu-latest won't have Python installed so we need to make sure this is present on all executions of this workflow.
In the last two steps, we install MkDocs using pip and run the gh-deploy command to generate and push the site on the gh-pages branch. Both commands correspond to what we ran locally in the previous post, so no magic there. Next time anyone commits and pushes on the main branch, GitHub Actions picks up the torch:
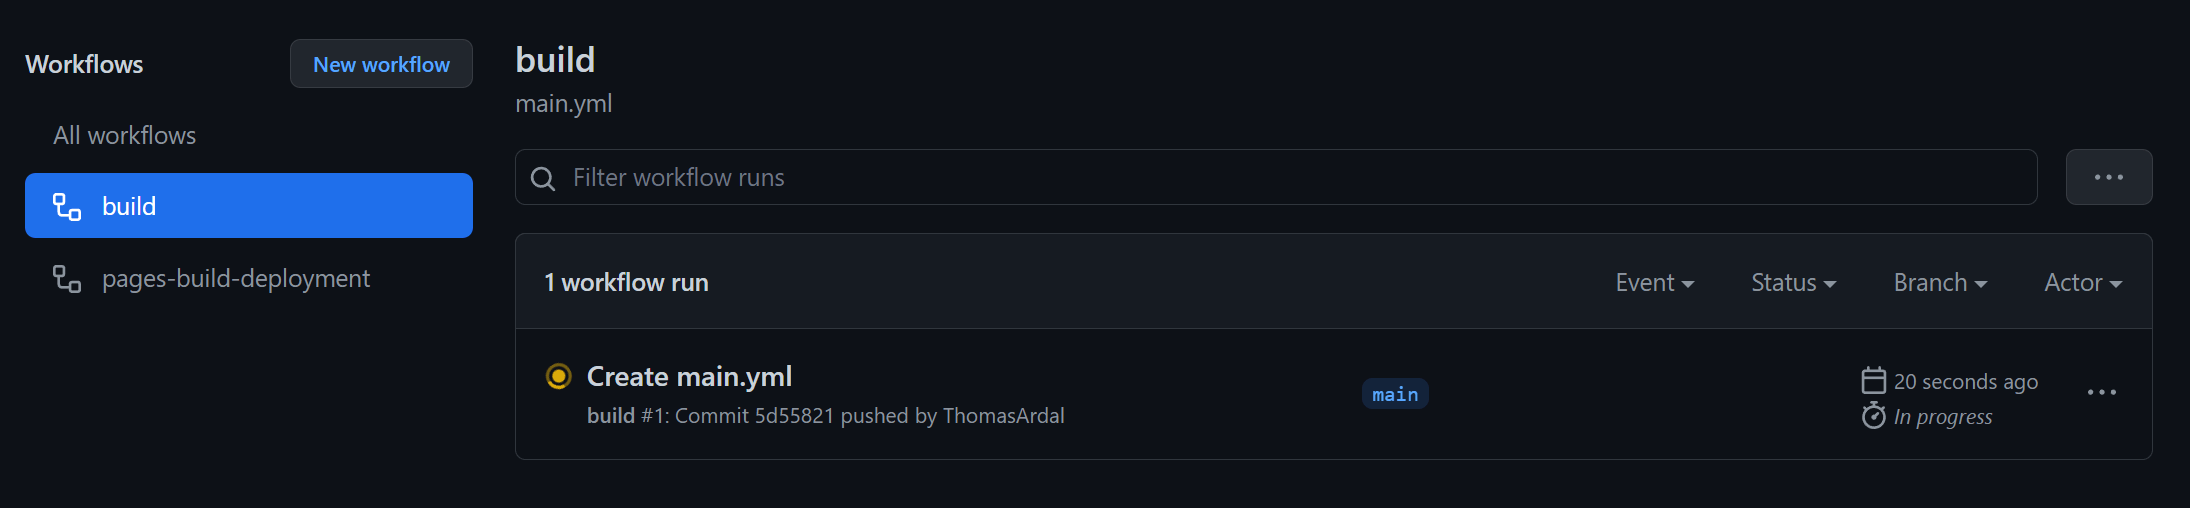
That's it. All changes are now automatically made available through MkDocs, GitHub Actions, and Pages. Once the build workflow is complete, the pages-build-deployment workflow takes over and deploys the changes to Pages.
A common practice when developing websites is minifying CSS and JavaScript files. Most MkDocs themes come with minified files, but if you want to develop your own theme, you may want original un-minified files when running locally and minified files when running on GitHub Pages. Another potential optimization is bundling all CSS and JavaScript files in a single file per type. This approach is not as important with the increased number of simultaneous requests available in HTTP2, but I still recommend you to try out both to see what works best.
There are a couple of options when it comes to minifying files. As already mentioned, when running with a fixed theme, chances are that the files are already minified but make sure to verify that before publishing your site to GitHub Pages. If you develop a custom theme or the selected theme comes with un-minified files, you can use mkdocs-minify-plugin by installing it through pip:
pip install mkdocs-minify-plugin
Next, insert the following config in the mkdocs.yml files:
- minify:
    minify_html: true
    minify_js: true
    minify_css: true
    htmlmin_opts:
        remove_comments: true
    js_files:
        - assets/js/main.js
    css_files:
        - assets/css/style.css
This will automatically minify the main.js and style.css files when serving the website and/or publishing the site to GitHub Pages. You will need to locate any references to the un-minified files in the HTML template files and replace them with *.min.js files:
<html lang="en">
  <head>
    <link rel="stylesheet" href="{{ 'assets/css/style.min.css'|url }}">
  </head>
  <body>
    <script src="{{ 'assets/js/main.min.js'|url }}"></script>
  </body>
</html>
(only showing the important lines here)
This will let you develop in main.js and style.css and run on minified code when visiting the site in a browser. A downside of this is that you typically don't want minified files when running on localhost, since this will make it hard to debug JavaScript errors and similar.
There are probably many ways to fix this, but here's a simple solution that we have based our implementation on. Set all of the minification config options to false and add a new production property in the mkdocs.yml file:
plugins:
    - minify:
        minify_html: false
        minify_js: false
        minify_css: false
        htmlmin_opts:
            remove_comments: true
        js_files:
            - assets/js/main.js
        css_files:
            - assets/css/style.css
production: false
Next, modify HTML files with references to the main.js and/or style.css file:
<html lang="en">
  <head>
    {% if config.production %}
    <link rel="stylesheet" href="{{ 'assets/css/style.min.css'|url }}">
    {% else %}
    <link rel="stylesheet" href="{{ 'assets/css/style.css'|url }}">
    {% endif %}
  </head>
  <body>
    {% if config.production %}
    <script src="{{ 'assets/js/main.min.js'|url }}"></script>
    {% else %}
    <script src="{{ 'assets/js/main.js'|url }}"></script>
    {% endif %}
  </body>
</html>
In this example, we use the templating language from jinja to include the minified versions if production equals true and the un-minified versions if not.
The final step is to expand the GitHub Actions workflow to override the minify_* and production properties on build. This can be done by inserting the following build steps before publishing the site to GitHub Actions:
- run: pip install mkdocs-minify-plugin
- run: sed -i 's/production:\ false/production:\ true/' mkdocs.yml
- run: sed -i 's/minify_html:\ false/minify_html:\ true/' mkdocs.yml
- run: sed -i 's/minify_js:\ false/minify_js:\ true/' mkdocs.yml
- run: sed -i 's/minify_css:\ false/minify_css:\ true/' mkdocs.yml
When the build is running on GitHub Actions we now get mkdocs-minify-plugin installed and all of the properties needed for running in production get updated.
mkdocs-minify-plugin should be sufficient to cover most needs. In case you need bundling or require special CSS that's not supported by the CSS minifier used by mkdocs-minify-plugin you can pick a different approach: gulp. A quick disclaimer before digging into the config. There are alternatives to gulp and you may prefer something else. This section is meant as an example of using an alternative to mkdocs-minify-plugin but which alternative you prefer, is entirely your call.
Since this approach is an alternative to mkdocs-minify-plugin you will need to remove that plugin and its configuration if you added it as part of the previous section. We still need the production property, so keep that in mkdocs.yml. Start by adding a new file named gulpfile.js to the root of your site:
"use strict";

var gulp = require("gulp"),
    concat = require("gulp-concat"),
    cssmin = require("gulp-cssmin"),
    uglify = require("gulp-terser"),
    merge = require("merge-stream"),
    bundleconfig = require("./bundleconfig.json");

    var regex = {
        css: /\.css$/,
        js: /\.js$/
    };

    function getBundles(regexPattern) {
        return bundleconfig.filter(function (bundle) {
            return regexPattern.test(bundle.outputFileName);
        });
    }

    gulp.task("min:js", function () {
        var tasks = getBundles(regex.js).map(function (bundle) {
            return gulp.src(bundle.inputFiles, { base: "." })
                .pipe(concat(bundle.outputFileName))
                .pipe(uglify())
                .pipe(gulp.dest("."));
        });
        return merge(tasks);
    });

    gulp.task("min:css", function () {
        var tasks = getBundles(regex.css).map(function (bundle) {
            return gulp.src(bundle.inputFiles, { base: "." })
                .pipe(concat(bundle.outputFileName))
                .pipe(cssmin())
                .pipe(gulp.dest("."));
        });
        return merge(tasks);
    });

    gulp.task("min", gulp.series(["min:js", "min:css"]));
The gulp config will provide a task named min to bundle and minify the CSS and JavaScript. Next, add a new file named bundleconfig.json:
[
  {
    "outputFileName": "mytheme/assets/css/style.min.css",
    "inputFiles": [
      "mytheme/assets/css/bootstrap.css",
      "mytheme/assets/css/style.css"
    ]
  },
  {
    "outputFileName": "mytheme/assets/js/main.min.js",
    "inputFiles": [
      "mytheme/assets/js/bootstrap.js",
      "mytheme/assets/js/main.js"
    ]
  }
]
If you are not familiar with .NET, the file probably doesn't look familiar. I simply picked this file to write my bundle config in a file I already use from .NET projects, but it could be anything that specifies the input and output files (including hardcoded values in the gulp file).
The final file to be added is a package.json file that will list the required npm packages to run gulp. Create the file by running:
npm init
npm install gulp --save-dev
npm install gulp-concat --save-dev
npm install gulp-cssmin --save-dev
npm install gulp-terser --save-dev
npm install merge-stream --save-dev
This will install the required npm packages locally and install them to the devDependencies property in package.json.
The final step is to extend the main.yml workflow file to have gulp running on GitHub Actions. This can be done by including the following build steps before running the gh-deploy command:
- uses: actions/setup-node@v1
  with:
    node-version: 12.16.0
- run: npm install
- run: gulp min
The script will install Node.js, install the npm packages listed in the package.json file and run the gulp command min that we added to the gulpfile.js file.
That was what I have decided to show in regards to MkDocs and how we use it to build elmah.io's documentation site. If you have any suggestions for future posts, let us know through the support widget. For general questions about MkDocs, please use MkDocs' issue tracker or Stack Overflow.
elmah.io: Error logging and Uptime Monitoring for your web apps
This blog post is brought to you by elmah.io. elmah.io is error logging, uptime monitoring, deployment tracking, and service heartbeats for your .NET and JavaScript applications. Stop relying on your users to notify you when something is wrong or dig through hundreds of megabytes of log files spread across servers. With elmah.io, we store all of your log messages, notify you through popular channels like email, Slack, and Microsoft Teams, and help you fix errors fast.

See how we can help you monitor your website for crashes Monitor your website