Custom model validation attributes in ASP.NET Core
While working on ASP.NET Core Web API, we have some customized business requirements for the user input. To implement those requirements, .NET provides a set of attributes to restrict users to input only validated data or return an error if the data inserted is invalid. In this blog, I will discuss step by step how to define a custom validation attribute for specific business requirements. I will use that attribute in a single line to validate user input.

What is the validation attribute in ASP.NET Core?
Validation attributes allow developers to specify validation rules for model properties. It provides an optional Error message property that displays for invalid input. They are applied to model properties in ASP.NET Core APIs and apply the defined rule on those properties.
Some of the most common built-in attributes are.
[Required(ErrorMessage = "Name is Required")]makes the property a must-insert.[EmailAddress(ErrorMessage = "Invalid email address")]restricts user input as a valid email format.[StringLength(100, MinimumLength = 6)]defines the minimum and maximum character length in the string property.
However, our applications sometimes require the implementation of business logic validations which cannot be met by any built-in options. Such requirements are often more complex or deep to be fulfilled by the provided set of attributes. .NET solves this problem with the ValidationAttribute class that we can inherit to define custom validation for input model property.
Suppose we require customers to be at least 18 years old, younger people cannot register in our application. To implement the case in the application involves the following steps.
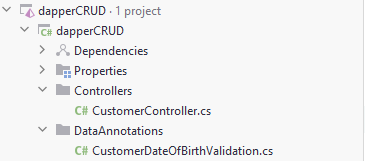
Step 1: Create a separate directory for attributes.
Let's create a directory for data attributes:

Step 2: Create an attribute class in a new file
Creating a file for validation:
Step 3: importing DataAnnotations namespace
Import the System.ComponentModel.DataAnnotation namespace that provides the ValidationAttribute class which we will inherit in our custom attribute:
using System.ComponentModel.DataAnnotations;
Step 4: Inheriting ValidationAttribute class from the DataAnnotations namespace
public class CustomerDateOfBirthValidation : ValidationAttribute
{
    public const string MINIMUM_DATE_OF_BIRTH =
        "The Customer age must be greater or equal to 18 years";
    private int MINIMUM_AGE = 18;
}
Here We have defined a default error message and minimum age which we will use for validation.
Step 5: Override method to define personalized check
In this step, we override the IsValid method from the inherited class. This is the main code where we define our business logic for an incoming property value:
protected override ValidationResult? IsValid(object? value, ValidationContext validationContext)
{
    var valueString = value != null ? value.ToString() : null;

    // If value is empty, show Success
    if(string.IsNullOrWhiteSpace(valueString))
    {
        return ValidationResult.Success;
    }

    // If dob cannot be parsed in Date then it is invalid
    if(!DateTime.TryParse(valueString, out DateTime dob))
    {
        return new ValidationResult("Please provide the date of birth in a valid format");
    }

    // Check if the age is under the minimum age. finding the calendar date of 18 years ago
    var minDateOfBirth = DateTime.Now.Date.AddYears(MINIMUM_AGE * -1);

    if(dob > minDateOfBirth)
    {
        return new ValidationResult(MINIMUM_DATE_OF_BIRTH);
    }

    return ValidationResult.Success;
}
IsValid takes two parameters, object? value is the value passed in the property on which we perform checks. ValidationContext validationContext holds other information about the value parameter and metadata about the validation process.
In the earlier line, we convert the value parameter into the string to parse and read conveniently. Then we check if it is in acceptable date format and can be parsed as a date. Otherwise, return a failing validation result.
In the later part, we calculate minDateOfBirth which is the date 18 years back from the current date. By which we check if the entered date is earlier or not. If dob (entered value) is later than the minDateOfBirth, we return ValidationResult with the message.
Lastly, we return ValidationResult.Success in passing the validation.
Step 6: Using the attribute
Now it is time to use the custom attribute in the model:
using dapperCRUD.DataAnnotations;

namespace dapperCRUD.Models
{
    public class Customer
    {
        // ...

        [CustomerDateOfBirthValidation]
        public DateTime DateOfBirth { get; set; }

    }
}
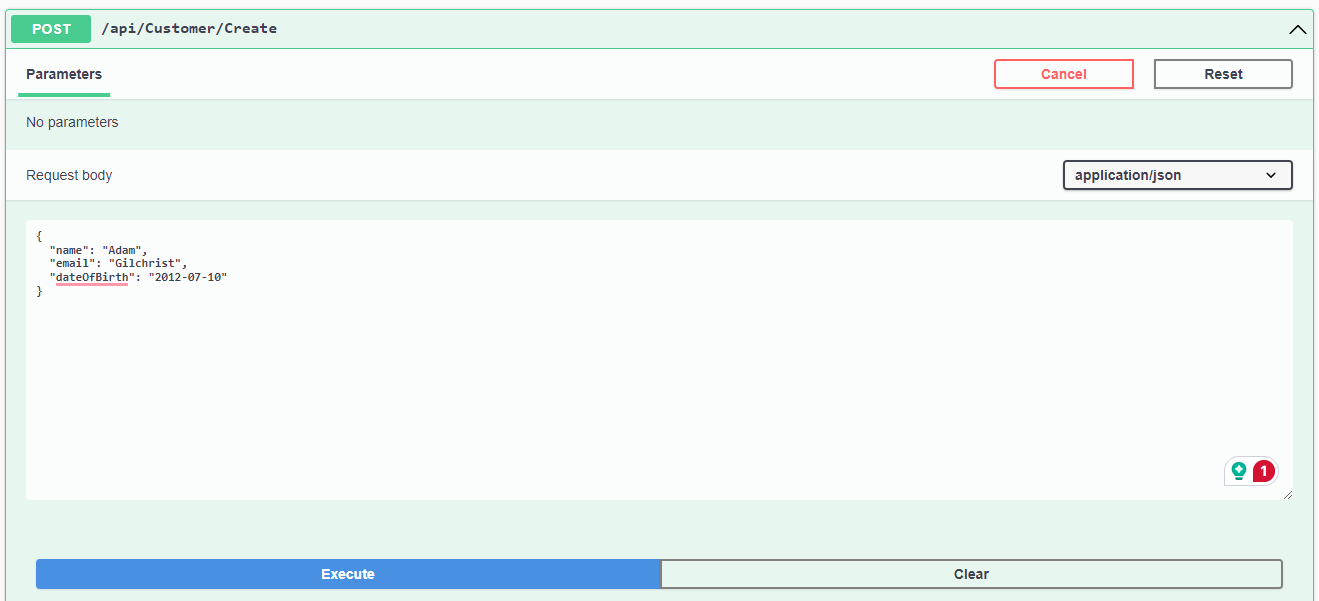
It is time to check by running the project. I ran the project and navigated to the swagger documentation of the API in the browser.
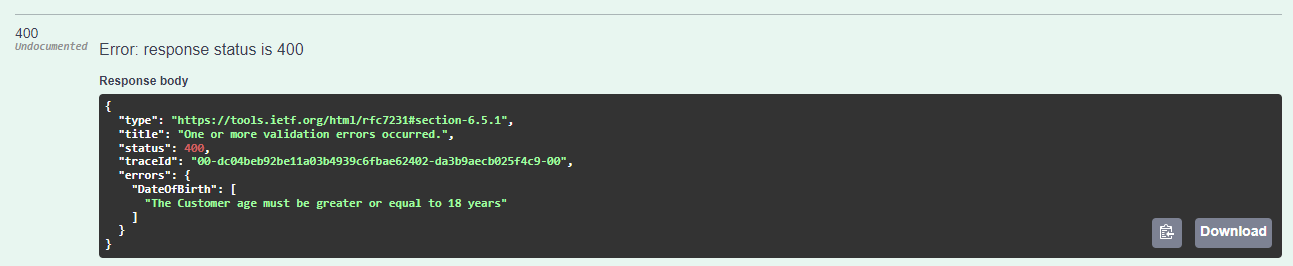
The API endpoint gives a validation error on the dateOfBirth field when tested through the Swagger UI request:
Let's give a valid date:
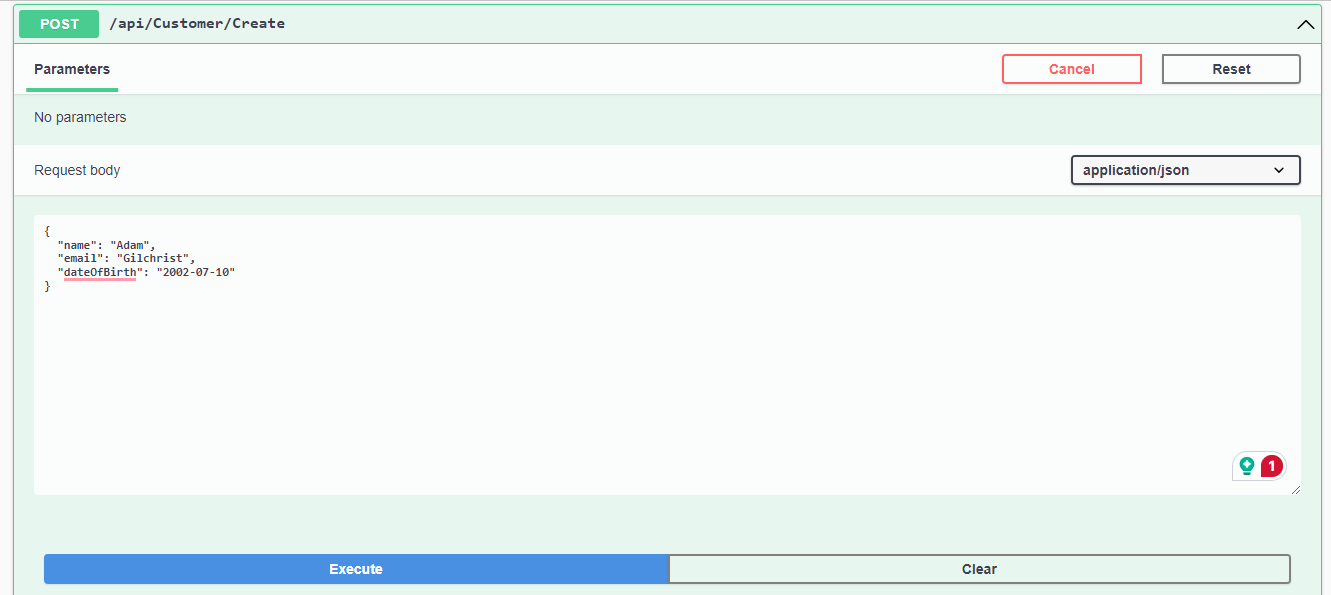
The endpoint creates a user successfully as the date of birth is more than 18 years ago than the current date (2024-07-10).

Summary
In this blog post, we discussed how to create custom data validation attributes in ASP.NET Core to implement business logic. We performed a step-by-step solution to define our attribute to check customers' date of birth and implement under age restriction for new customers to register. System.ComponentModel.DataAnnotations provides a ValidationAttribute class which allows its child class to override the IsValid method to add custom validation checks and logic and return appropriate messages for invalid inputs.
elmah.io: Error logging and Uptime Monitoring for your web apps
This blog post is brought to you by elmah.io. elmah.io is error logging, uptime monitoring, deployment tracking, and service heartbeats for your .NET and JavaScript applications. Stop relying on your users to notify you when something is wrong or dig through hundreds of megabytes of log files spread across servers. With elmah.io, we store all of your log messages, notify you through popular channels like email, Slack, and Microsoft Teams, and help you fix errors fast.

See how we can help you monitor your website for crashes Monitor your website