Caching Strategies in ASP.NET Core
Decreasing response time is one of the key measures towards improving the user experience of an application. Caching techniques and other practices can help your .NET application perform well with low effort. With caching, you can keep frequently accessed delay-prone data in a fast, accessible location. This can improve your application's performance remarkably without making a big effort. In this post, I'll introduce a few different ways of implementing caching in ASP.NET Core.

What is Caching
Caching is a technique that stores a copy of frequently accessed data in a faster-access location called cache memory. By using the cache, the application reduces the calling cycles to the backend by fetching the data from temporary cache memory, lowering the response time. Caching allows applications to avoid expensive API calls and database queries repeatedly and significantly improves user experience.
Let's consider eliminating unnecessary backend calls in an e-commerce application. We have already developed an ASP.NET Core API that returns the data via exposed endpoints. However, the problem is that hitting the server every time costs significantly and negatively affects the user experience. ASP.NET Core has two of the most common strategies we will implement one by one.
In-Memory Caching
In-memory caching caches the frequently accessed data in the application’s memory. It is less persistent and provides the fastest access in subsequent requests as the data is fetched from the cache server memory. It is ideal for small-scale applications with small datasets.
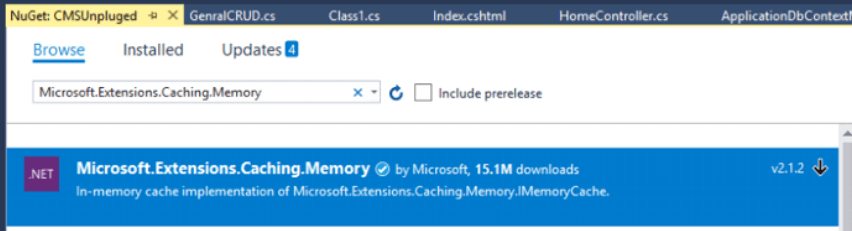
ASP.NET Core provides a Microsoft.Extensions.Caching.Memory package to implement an in-memory cache. Let's look at the steps to do that.
Step 1: Install the NuGet package
Run the command on .NET CLI
dotnet add package Microsoft.Extensions.Caching.Memory
Or install it from the NuGet package manager
Step 2: Add service to Dependency injection
In the Program.cs file (.NET 6.0 or later) register the service before the registering controllers.
builder.Services.AddMemoryCache();
builder.Services.AddControllers();
Step 3: Inject IMemoryCache into the class
I have a CustomerRepository class to interact with the database.
public class CustomerRepository : ICustomerRepository
{
    //...
    private readonly IMemoryCache _memoryCache;

    public CustomerRepository(IMemoryCache memoryCache)
    {
        _memoryCache = memoryCache;
        //...
    }
}
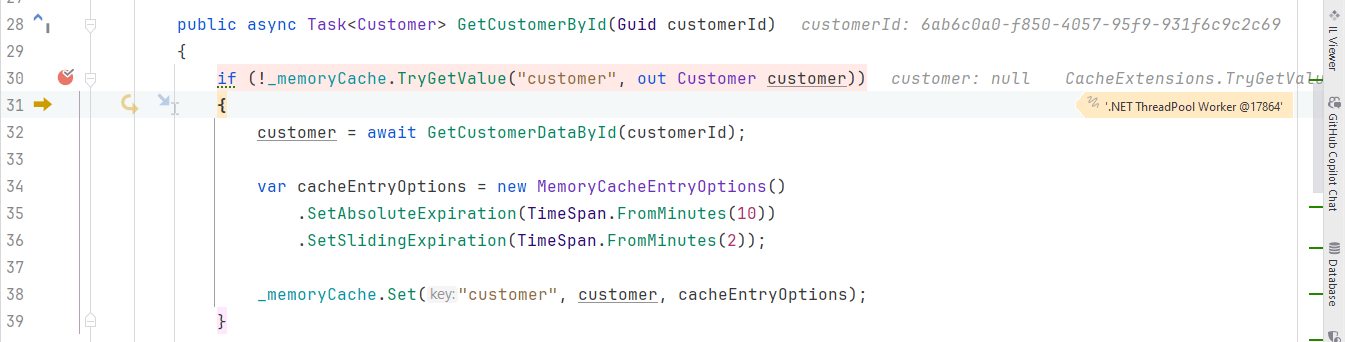
Step 4: Add conditional fetching from the database
public async Task<Customer> GetCustomerById(Guid customerId)
{
    if (!_memoryCache.TryGetValue("customer", out Customer customer))
    {
        customer = await GetCustomerDataById(customerId);

        var cacheEntryOptions = new MemoryCacheEntryOptions()
            .SetAbsoluteExpiration(TimeSpan.FromMinutes(10))
            .SetSlidingExpiration(TimeSpan.FromMinutes(2));

        _memoryCache.Set("customer", customer, cacheEntryOptions);
    }

    return customer;
}
In the if-block, we are setting some cache options, which are
- AbsoluteExpiration: Specifies the duration after which the item will be deleted from the cache.
- SlidingExpiration: The duration specifies the item's inactivity. If an item is not used by the sliding expiration duration, it will be deleted from the temporary storage.
This is the main code where we check if the requested data is available in the memory cache. If found, we return it from memory without querying the database. Otherwise, the data can be retrieved from the database and stored in the cache for the future.
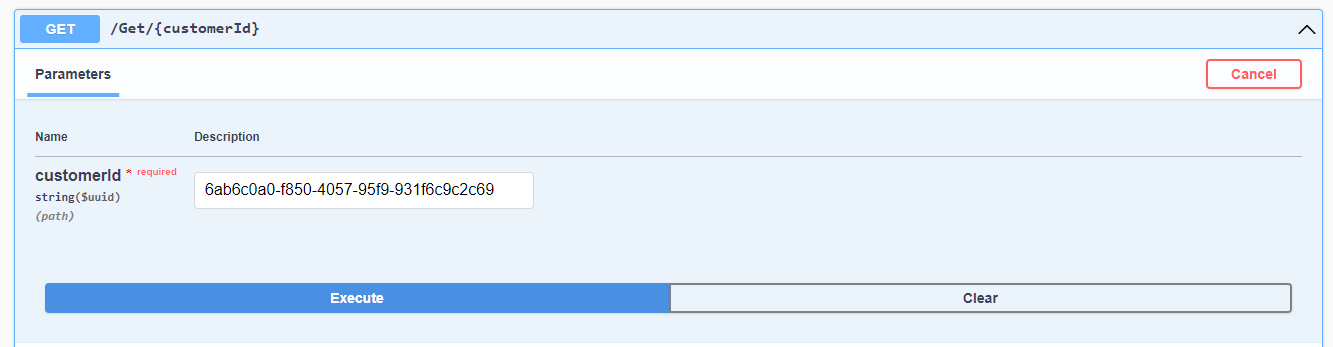
Testing
Now, calling the API endpoint:
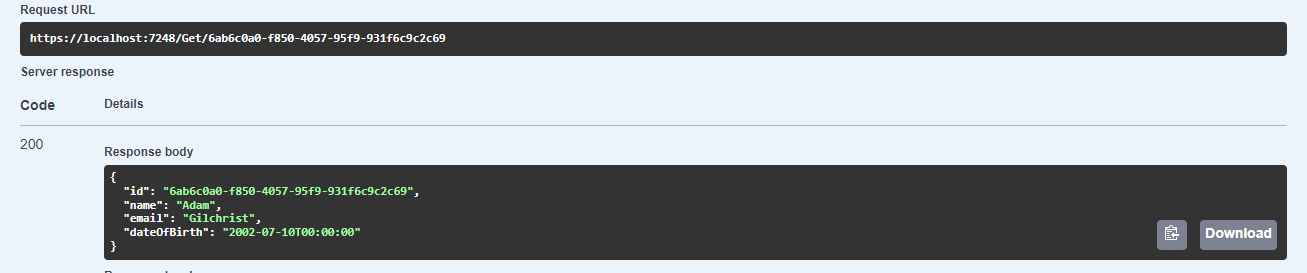
As seen in the highlighted box with the debugger, the memory cache does not have data with the customer key. The response is fetched from the database using the method GetCustomerDataById.

In this part, we can see that the debugger finds the requested customer in the memory and returns from the memory:
Pros and Cons of In-Memory Caching
Pros
- Extremely fast as fetches from single memory location
- Simple to implement
- Single storage location ensures fewer security risks
- Enhance performance for small tasks like session storage
- Cost-effective requiring only simple storage
Cons
- It does not persist as the data is saved only until the server restarts
- It can save limited data depending on the memory (RAM) of the server
- Less fault-tolerant as it lacks distributed storage
- Less scalable because of limited storage
Distributed Caching
The Distributed caching strategy stores data across multiple shared servers. This technique is suitable for highly resilient and scalable requirements. The distributed cache allows a large amount of data to be available with faster access.
Redis is a popular in-memory database that is widely used for distributing caching. We will use Redis in our API to leverage its distributed server for high-performance caching.
Here is how to implement Redis distributed caching in ASP.NET Core.
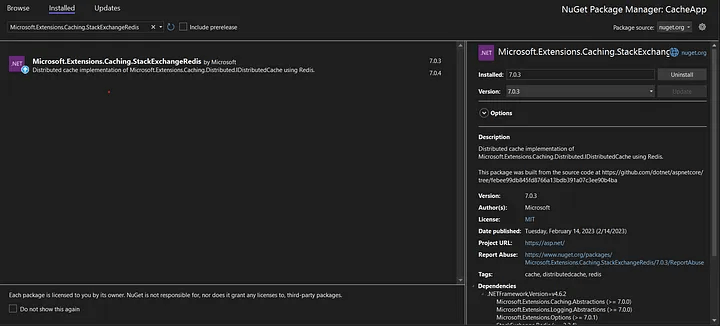
Step 1: Install package
Use the following to install the NuGet package
dotnet add package Microsoft.Extensions.Caching.StackExchangeRedis
Or
Step 2: Register service in the Program.cs
builder.Services.AddStackExchangeRedisCache(options =>
{
    options.Configuration = "localhost:6379"; // Your Redis server configuration host
    options.InstanceName = "InstanceName";  // Optional
});
Step 3: Inject Distributed cache from Microsoft.Extensions.Caching.Distributed
using Microsoft.Extensions.Caching.Distributed;

public class CustomerRepository: ICustomerRepository
{
    // ...
    private readonly IDistributedCache _distributedCache;

    public CustomerRepository(IDistributedCache distributedCache)
    {
        _distributedCache = distributedCache;
        //...
    }
}
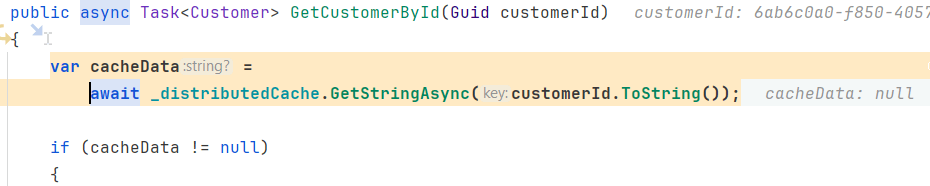
The GetCustomerById method can be updated like this:
public async Task<Customer> GetCustomerById(Guid customerId)
{
    var cacheData = await _distributedCache.GetStringAsync(customerId.ToString());

    if (cacheData != null)
    {
        return JsonSerializer.Deserialize<Customer>(cacheData);
    }

    var customer = await GetCustomerDataById(customerId);

    var serializedData = JsonSerializer.Serialize(customer);

    var cacheEntryOptions = new DistributedCacheEntryOptions
    {
        AbsoluteExpirationRelativeToNow = TimeSpan.FromMinutes(5)
    };

    await _distributedCache.SetStringAsync(customerId.ToString(), serializedData, cacheEntryOptions);

    return customer;
}
Step 4: Run docker from cmd with
docker run -p 6379:6379 --name redis -d redis
In the code, we get null in cacheData in the first request:
In subsequent calls, the data is fetched from the distributed Redis cache. We get the response:

Pros and Cons of Distributed Caching
Pros
- Supports scalability
- Load balancing via distributed nodes
- More fault tolerance with multiple caching servers
- Eliminate significant database cost
- Distributed nodes serve fast for different geographical locations
Cons
- Maintaining multiple servers adds complexity
- The distributed nature sometimes increases the latency
- Demands additional hardware and resources for caching
- Serve stale data if the nodes are not synchronized
- Needs security configuration to ensure safety from data leaks or unauthorized access
Summary
In this article, we learned about the caching technique that copies the infrequently changed repetitive data to a faster location. This brings some improvement to the performance of the application and user experience. We discussed two of the most common caching strategies, In-memory and Distributed caching. We implemented each of them in our ASP.NET Core API and analyzed their consequences and usage.
elmah.io: Error logging and Uptime Monitoring for your web apps
This blog post is brought to you by elmah.io. elmah.io is error logging, uptime monitoring, deployment tracking, and service heartbeats for your .NET and JavaScript applications. Stop relying on your users to notify you when something is wrong or dig through hundreds of megabytes of log files spread across servers. With elmah.io, we store all of your log messages, notify you through popular channels like email, Slack, and Microsoft Teams, and help you fix errors fast.

See how we can help you monitor your website for crashes Monitor your website